Sewing Seams
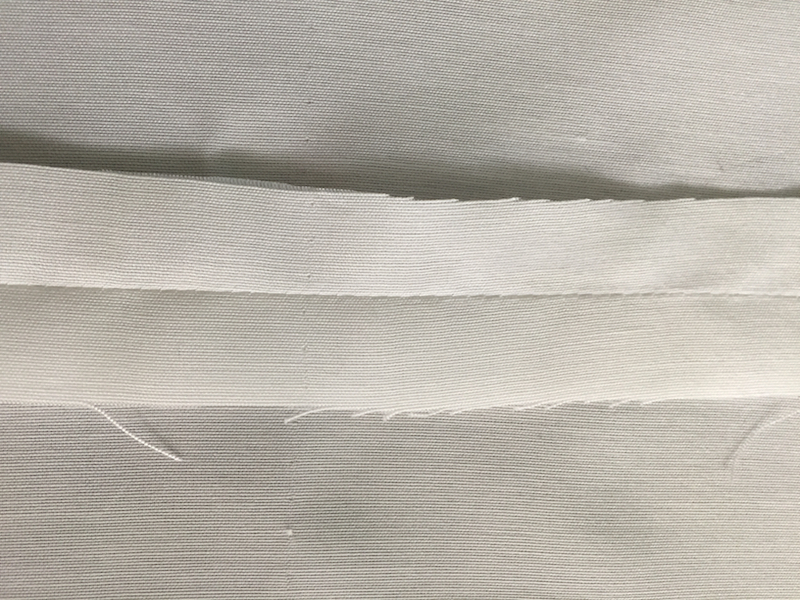
Sewing seams is at the heart of making fabric items, they hold everything in place.
Clothes and other sewn items are deemed to be well made if the seams are perfect and not puckered, pulled, uneven or crooked.
Seams are made by stitching two fabric pieces together. These usually have their right sides facing each other so the inside of the seam (the part you do not want shown) is on the inside of the item or garment.
The seam width is usually 5/8 of an inch or 1.5 cm from the selvedge or the edge that has been cut.
Seams are not usually seen and when using a stripe or check fabric, these can be matched to align perfectly so the seam appears to be invisible.
However....
Another aspect of seams is that they can be part of the design. If they are placed in an unusual place and/or sewn with a contrasting or different coloured thread that will help them to stand out as part of the design.
Seams will also need some sort of finishing off so they will not fray. If the selvedge is part of the seam then there is no need to finish this off as these sides will not fray.
There are different ways of finishing off seams as well.
Sewing Seams - some different types
Plain seams
This is the basic element in any sewing. Plain seams are those sewn at the defined width and then iron pressed flat.
Start with right sides of the fabric facing together and pin the two pieces together ready to sew seam.
The pins can be put in place horizontally so when the machine needle reaches them, they can be removed.
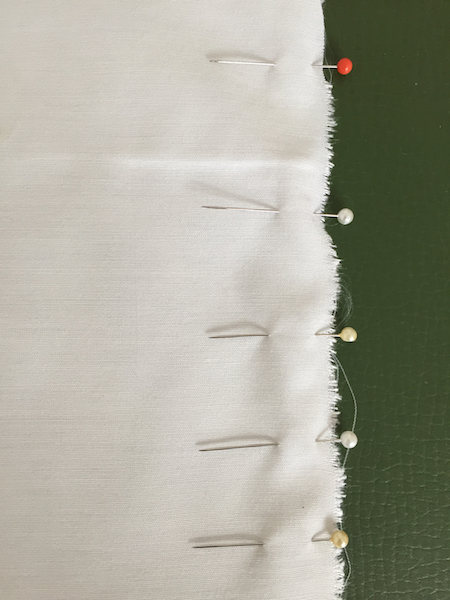 Pins set horizontally for easy removal
The pins can also be used vertically and at the right distance from the cut edge.
Again as the machine needle approaches them they can be taken out easily. If the needle strikes a pin that could mean the needle breaks and will have to be replaced.
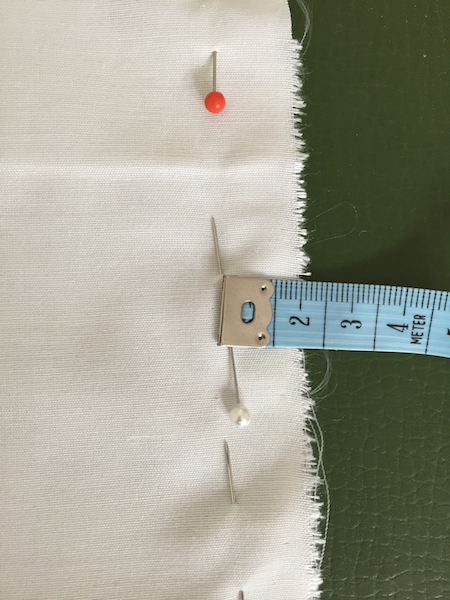 Pins placed vertically along seam width
Another way to make sure the seam is sewn at the right width is to place a marker onto the machine at the defined width and keep the cut edge of the fabric against this marker.
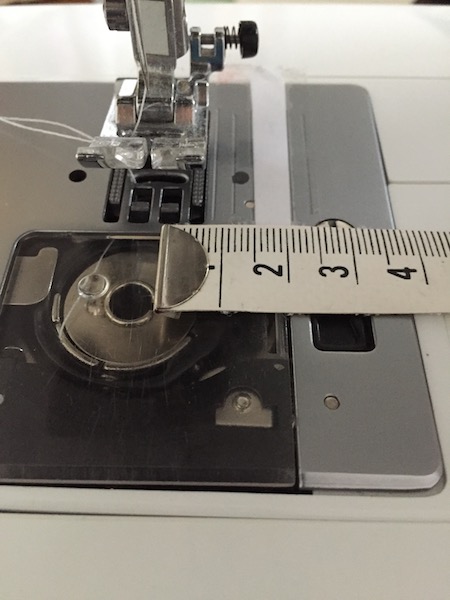 Measuring the seam width
The needle is positioned in the middle of the foot so the measurement should be taken from this point and then out to one of the lines that are etched into the machine.
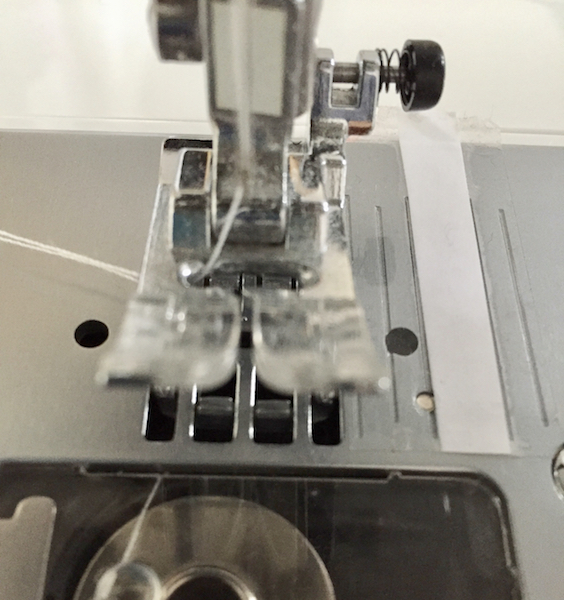 Leaving a marker for seam with on machine
A piece of sticky tape can be put along the etched line at the desired seam width as there could be more than one.
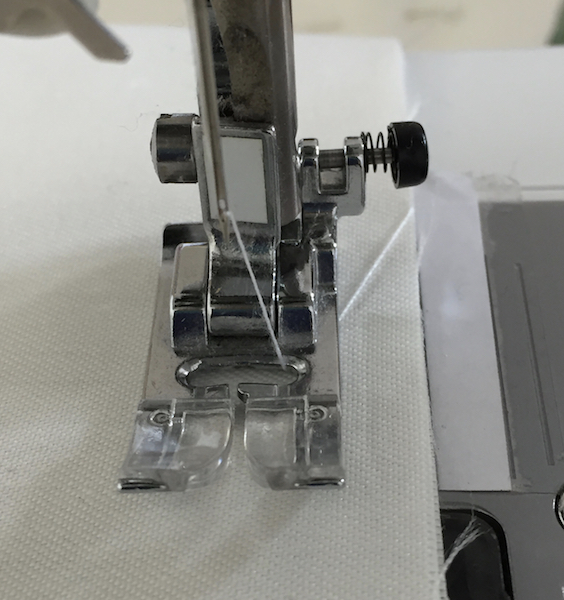
Line the edge of the fabric against the tape, if used, or keep the edge to the groove etched in the machine and using the machine sew along the edge of the fabric.
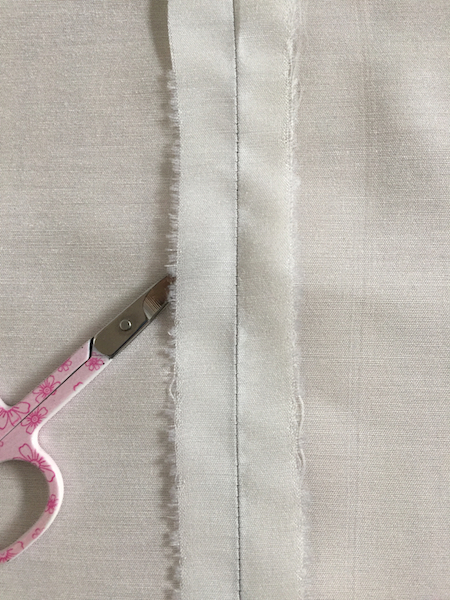 Sewn pressed unfinished seam
Once the seam has been sewn using the machine press the seam flat with an iron. This seam as shown in the picture may fray so will need to be finished off to stop this from happening.
Finishing a Plain Seam
Using a zigzag stitch
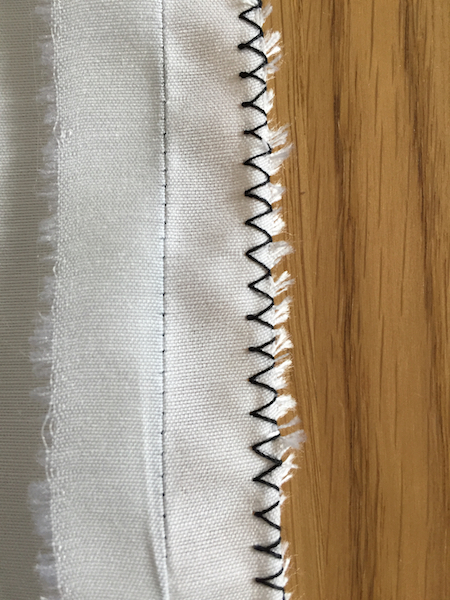
Using matching thread to the fabric, I have used a contrasting one here so it can be seen.
One of the quickest and easiest way of finishing a seam that may fray over time is to oversew the edge of the seam with a zigzag stitch. Each side would be done separately so the seam continues to lie flat against the item or garment.
Turning in a seam
Another way to finish a seam is to turn the raw edges under, so the edges are encased inside the seam.
Contrasting thread has been used in the pictures so the stitching can be seen but a matching thread would be used.
 plain flat seam
Unfinished open flat seam, showing seam width.
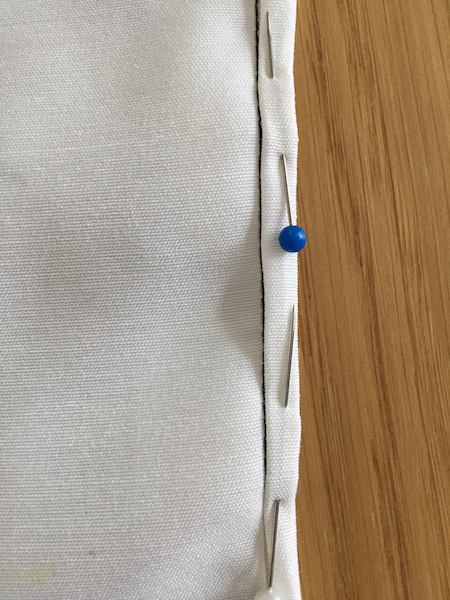 turned in pinned seam allowance
Within the seam allowance turn edge in halfway then turn in again so folded edge is along seam stitching.
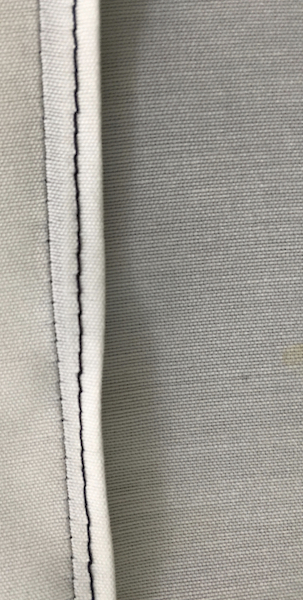 raw edges sewn inside seam allowance
Seam is then sewn keeping the raw edges inside the turnings
There are other ways that can be used to stop a seam from fraying and the one to use is really a personal choice.
If there isn't going to be an issue, such as sewing seams on a cushion insert or if the seam is going to be covered in a lining, then there is no need to finish a seam.
Enjoy sewing seams for your projects.
Affiliate offers
Please take care with any soft furnishing that it does not come into contact with any heat source.
If you have found an error on this page or want some more information on sewing cushions.
Please contact me . Thank you
New! Comments
Have your say about what you just read! Leave me a comment in the box below.